How I Started The Organized Calm — A Step‑by‑Step Guide for Beginners
I never planned to become a blogger.
In fact, a year ago, I didn’t know a domain from a DNS. I was just a busy woman with a cluttered home, a full‑time job, and a nagging feeling that maybe—just maybe—I could turn my struggles into something that helped other women.This step-by-step guide will show you exactly how to start a blog for beginners, using the same tools I trust.
That idea became The Organized Calm.
Today, I’m going to walk you through exactly how I built this blog from scratch, the tools I used, the mistakes I made, and what I’d do if I were starting over tomorrow. If you’ve ever thought about starting your own blog—whether about home organization, parenting, food, or anything else—this guide is for you.
Disclosure: Some of the links in this post are affiliate links. If you make a purchase through them, I may earn a small commission at no extra cost to you. I only recommend products I personally use and love.
Step 1: Choose Your Niche (And Don’t Overthink It)
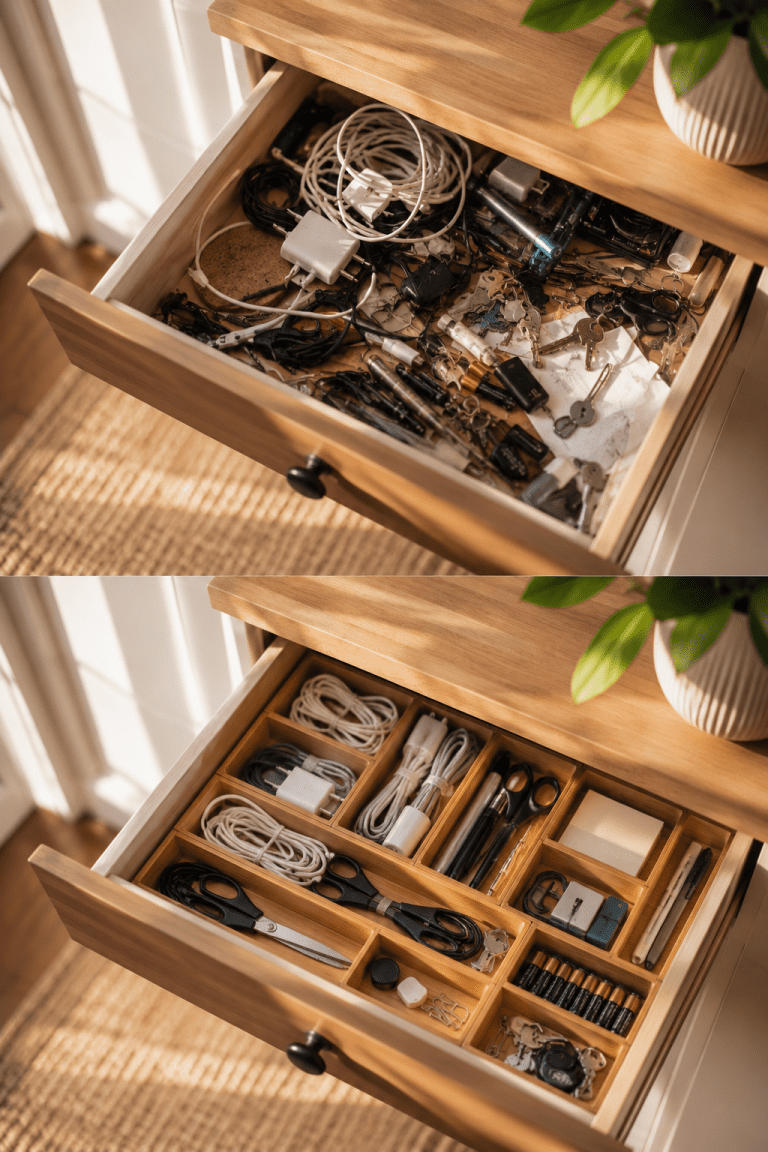
Every successful blog starts with a clear focus. My niche is home organization and decluttering for overwhelmed women. Yours might be meal prep for busy moms, small‑space gardening, or personal finance for beginners.
The key is to pick something you actually care about and that has an audience. If you’re stuck, ask yourself:
- What do my friends always ask me for advice about?
- What problems have I solved in my own life?
- What could I talk about for an hour without getting bored?
Write down three ideas, then pick the one that feels most natural. You can always pivot later.
Step 2: Pick a Domain Name (Your Blog’s Address)
Your domain is your blog’s name on the internet. For me, it’s theorganizedcalm.com. I wanted something warm, memorable, and descriptive of what I offer.
How to choose a domain:
- Keep it short and easy to spell.
- Avoid hyphens and numbers if possible.
- Aim for a
.comending if you can, but.coor.blogwork too.
I registered my domain through Namecheap—the process took about five minutes and cost less than $12 for the first year.
Step 3: Set Up Hosting (Where Your Blog Lives)
This is the step that scared me the most, but it turned out to be ridiculously simple.
Hosting is basically renting space on the internet for your blog. I chose Hostbreak because it’s affordable, beginner‑friendly, and has amazing 24/7 customer support (they literally walked me through the setup when I got stuck).
click here to get started→https://portal.hostbreak.com/aff.php?aff=3177
Here’s how I set up my hosting:
- I visited the Hostbreak website and chose the cheapest “Starter” shared hosting plan (around PKR 400/month if you pay monthly, or PKR 6,000/year).
- I selected “I already have a domain” and typed in
theorganizedcalm.com. - I completed the payment using EasyPaisa (they also accept JazzCash and bank transfer).
- Within minutes, I received an email with my cPanel login and name‑servers.
- I followed their 1‑click WordPress install button (Softaculous in cPanel), and my blog was live.
Honestly, the whole thing took about an hour, and that included me panicking about a 500 error that turned out to be a temporary glitch. If I can do it, anyone can.
Step 4: Install WordPress & Pick a Theme
WordPress is the free software that powers most blogs on the internet. Once Hostbreak installed it for me, I logged into my dashboard and chose a theme.
I use Kadence, which is free, fast, and incredibly customizable. Other great options for beginners are GeneratePress and Astra. Just go to Appearance → Themes → Add New, search for the theme, and click Install.
Step 5: Create Your Core Pages and First Blog Post
I started with three basic pages:
- Home: A simple welcome message.
- About: Who I am and why I started the blog.
- Blog: Where my posts appear automatically.
Then I wrote my first post: the 30‑Day Declutter Challenge. It was rough, it was honest, and it helped one person. That was enough to keep going.
Step 6: Add Essential Plugins (But Not Too Many)
Plugins are like apps for your website. Here are the only three I started with:
- Rank Math SEO — helps Google find my posts.
- Smush — compresses images so my site loads fast.
- Akismet Anti‑Spam — blocks spam comments automatically.
Don’t go plugin‑crazy. Every extra plugin slows down your site.
Step 7: Start Creating and Sharing
Once the blog was live, I focused on two things:
- Writing one helpful blog post per week.
- Creating Pinterest pins to share those posts (Pinterest is a search engine, not social media—perfect for new blogs).
It took a few weeks to see my first visitors, but once I had 10+ pins circulating, traffic started arriving daily. Now I get hundreds of visitors a month, and that number grows every week.
What I’d Do Differently (And What You Should Do)
- Start an email list on Day 1. I use Kit (formerly ConvertKit). Even if you have zero readers, set up a simple signup form offering a free checklist or guide. Your email list is your most valuable asset.
- Don’t obsess over design. Write first, make it pretty later.
- Focus on Pinterest before Instagram or TikTok. Pinterest sends steady, long‑term traffic. Social media posts die in 24 hours.
Your Turn
If you’ve been dreaming about starting a blog, let this be your sign. You don’t need to be a tech expert. You don’t need a huge budget. You just need a domain, hosting, and one helpful post.
Ready to start? Here’s the exact hosting I use:
https://portal.hostbreak.com/aff.php?aff=3177
And if you have any questions, drop them in the comments below. I’ll do my best to answer.
Happy blogging,